
How to Storyboard with Google Slides


Google Slides is an online tool for creating and formatting presentations. It's incredibly versatile, and is the perfect partner for planning your next film or video project.
Google Slides is a cloud-based service, which means that you can access it from any computer with an internet connection. It supports real-time editing and collaboration, so it's ideal for teams who want to work together to create presentations. Along with Google Docs, Google Forms and many other Google apps, it comes as part of G Suite. In G Suite, you'll see it referred to simply as Slides. Also worthy of a mention is that Google Slides is a free service!

The Shortcut to Effective Storyboards.
Boords is an easy-to-use storyboarding tool to plan creative projects.
Try Boords for freeLike Google Slides, Boords is also a cloud-based, collaborative tool. While Google Slides focuses primarily on presentations, Boords allows users to create and share storyboards online. It helps transform an idea into a tangible storyboard in a matter of minutes. These storyboards can then be shared with others via an online sharing link or exported to a handy, printable PDF file. Luckily for you, Boords is also free to try. Hurray for freebies!
Boords vs Google Slides
Though Boords and Google Slides share some similarities, they're typically used at different stages of pre-production.
Benefits of Google Slides
In broad terms, Google Slides is a general presentation tool. Content is uploaded to Google Slides to create a presentation slideshow, similar to PowerPoint. Anyone needing to make a presentation can benefit from using Google Slides. This could include business owners, teachers, students, public speakers and many more.
Google Slides works particularly well for pitch decks where the main goal is to help investors or potential clients learn about a business and the value it can offer them. A good pitch deck should be both compelling and informative, and so it often includes a storyboard (or part of a storyboard), style frames, references, costs and project timelines.
Benefits of Boords
Boords, on the other hand, is a storyboarding tool used to create and share storyboards and animatics. You can upload images from your device (or via a file storage service, like Google Drive) or alternatively, search the Image Library for suitable images. If quick, rough sketches are more your thing, you can use a drawing tablet or iPad to draw directly into the storyboard's frames.
You can then add notes to each frame to create a fully-fledged, ready-to-share storyboard. Teams of creatives can collaborate with each other in real-time, create storyboard iterations with the versioning tool and gather feedback from comments.
Get your FREE Filmmaking Storyboard Template Bundle
Plan your film with 10 professionally designed storyboard templates as ready-to-use PDFs.

For many creatives, the work they do in Google Slides is a follow-on step from what they've already created in Boords. A storyboard (or a section from a storyboard) is often taken from Boords and uploaded to Google Slides to form part of a pitch deck.
How to use Boords with Google Slides
Boords and Google Slides can be used in tandem by exporting images from Boords and then importing those images directly to Google Slides. Here's a step-by-step guide to help you on your way.
Step 1: Open your storyboard
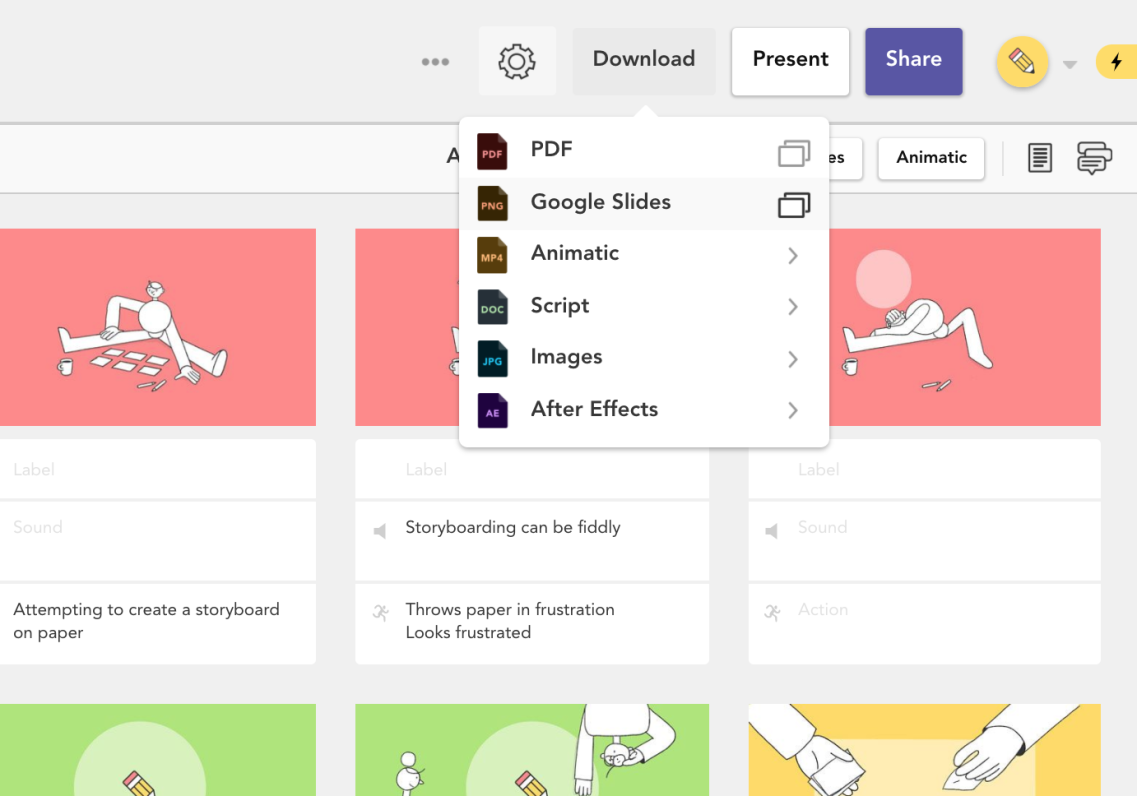
First up, open the storyboard that you want to import the images from. Select Download, then Google Slides.
Step 2: Choose a layout
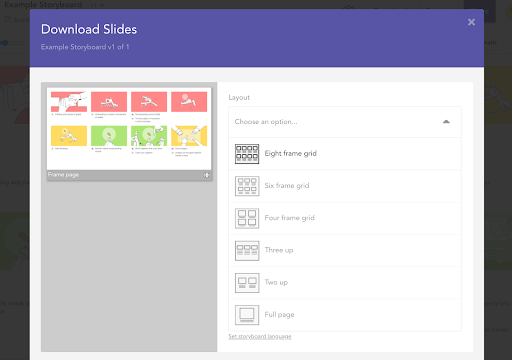
Choose a layout for your storyboard. We recommend the eight frame grid, which is tailored for Google Slides and looks particularly sleek in a presentation!
Step 3: Set your preferences
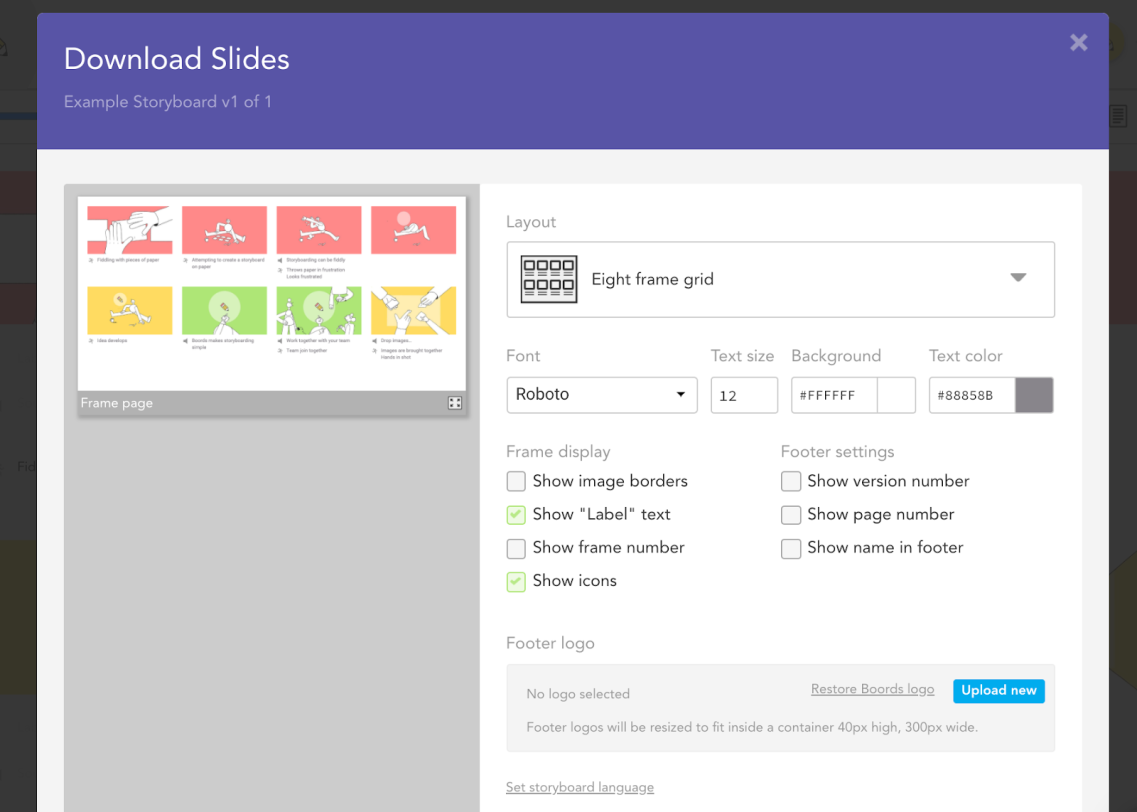
Next, customize the font, the frame display and the footer settings to your liking. The preview on the left-hand side will help guide you along the way. Select Show preview to zoom in on this preview.
To hide all footer content, uncheck all of the boxes under “Footer Settings”. This will be especially important if you intend to add your own branding to the footer of your Google Slides presentation.
Step 4: Export PNGs
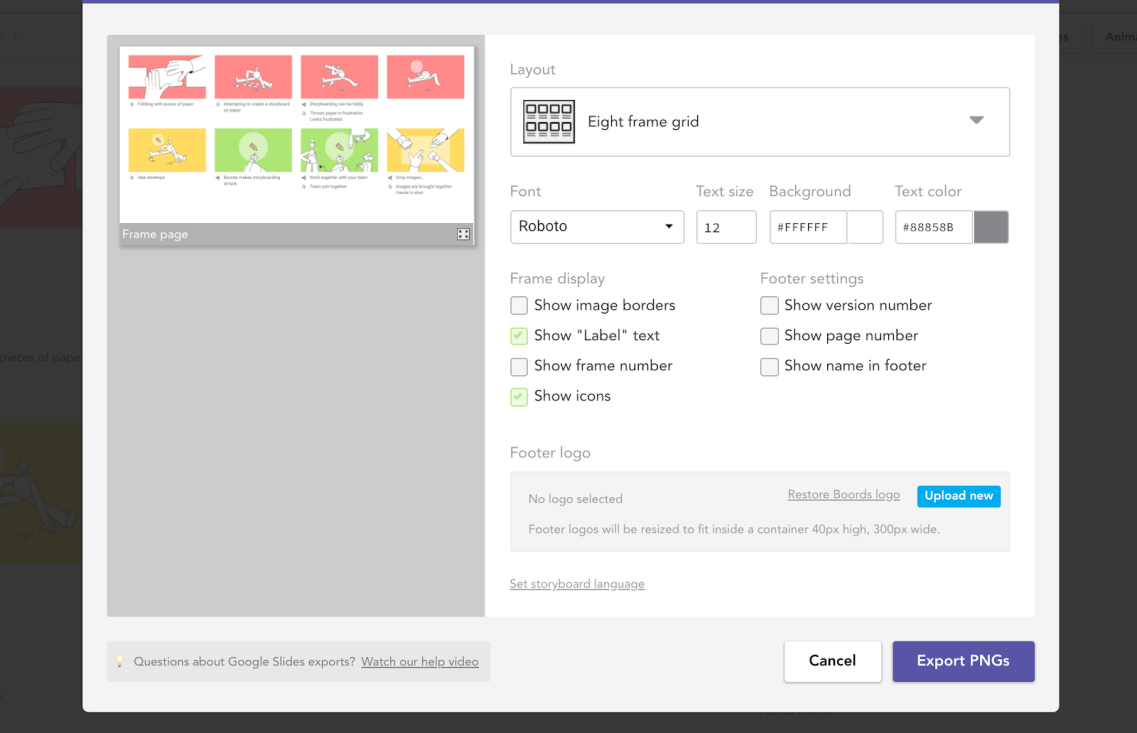
When your storyboard is presentation-ready, select Export PNGs. This will convert each page of the storyboard into a separate PNG image. You can then download these images into a trusty ZIP file.
Step 5: Upload to Google Slides
Open the ZIP file and head over to your Google Slides presentation.
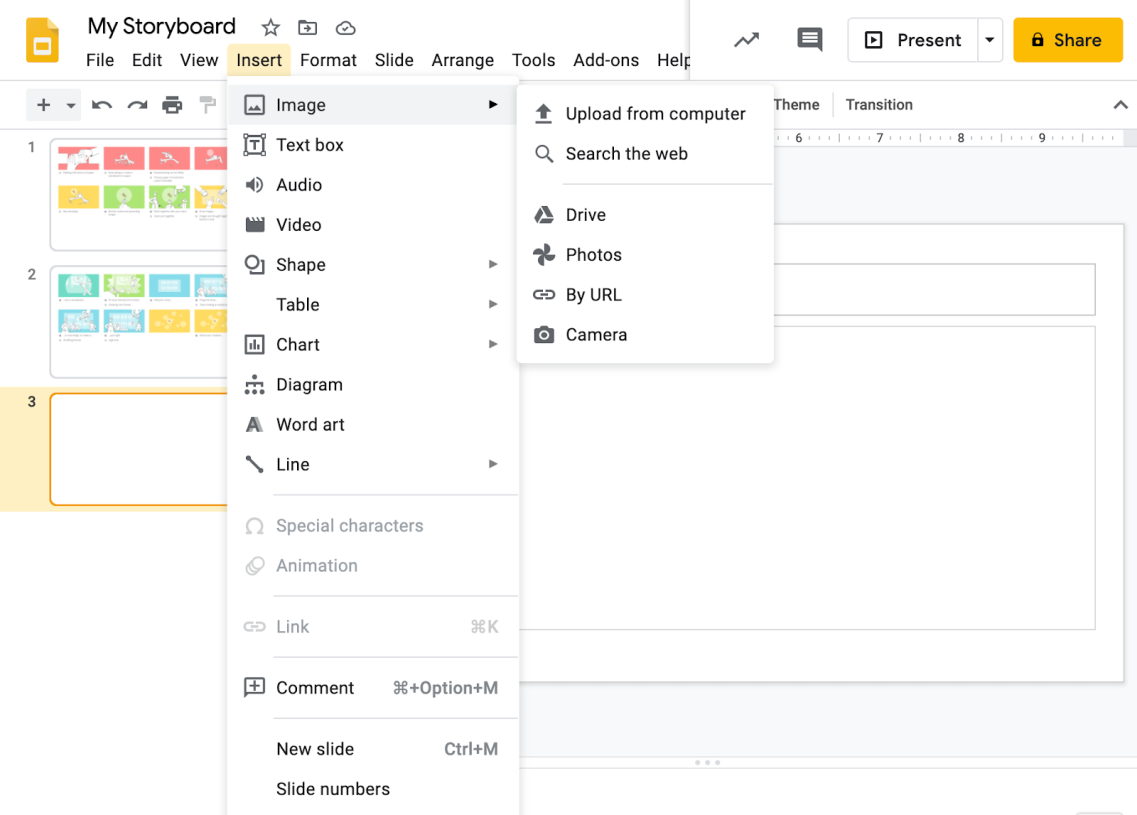
Select Insert > Image > Upload from computer. Search for your storyboard image and upload it to the slide.
